Canning Grape Jam Easy Step-by-step Instructions
I have an incredibly huge wild Concord grape vine growing on the stone wall in front of my house. It’s at least 75 feet long and trying to take over the world. Because we had tons of rain this summer, the leaves grew really, really big and hid the grapes, so I got to them before the birds did for the first time in 10 years.
Dawn: 1, birds: 0. SCORE!
This post contains affiliate links. When you make a purchase through one of these links, I earn a small commission. This does not affect your purchase price.
If you’d like the book I used for this recipe, you can find it here. (The specific recipe I used is on page 22).
How to Make Grape Jam
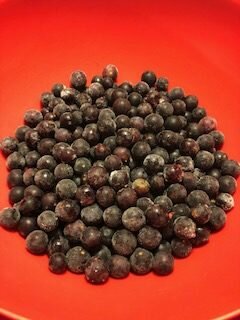
Remove the Skins
The recipe called for removing the skin from the grapes before cooking them down into jam. Have you ever seen the I Love Lucy episode where she’s in the vat stomping grapes? Best episode everrrrr! And if you’ve never seen it, watch it here.
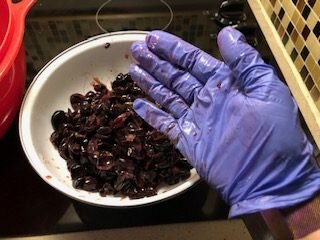
I started out like Lucy, kinda grossed out by the feeling of squeezing the grapes, but then it became oddly satisfying. Really oddly satisfying. I’m pretty sure I had the Lucy look on my face and everything. You’ve gotta try it.
But wear gloves or you’re going to resemble a smurf for days. Trust me on this!
Boil the Grapes
From there on out, there was lots of boiling and boiling and boiling some more. If you’ve ever made jam or jelly, you know what I mean.
This particular jam uses the skins of the grapes as well as the pulp, which gives it great color and flavor.

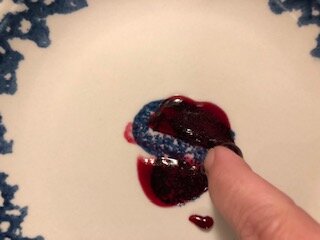
Gel Stage Test
Once you think your jam is ready, you need to test to make sure it will turn into jam and not just remain a runny, gooey mess….although if that happens, your non-jam will still make an AWESOME topping for ice cream. Just sayin’.
You need to put a saucer in the freezer ahead of time to chill it, then take a teaspoon of the jam and put it on the saucer.
Put it in the freezer for 1 minute (yes, you should time it). Take it out and run your finger through it. If it looks like the pic below, you’re good to go.
Fill the Jars
Next, you’ll fill the jars and follow the recipe directions for canning your masterpiece. Grape jam is acidic enough to be safe for water bath canning, unlike certain other foods that must be pressure canned.
Safety Considerations
If you’re not familiar proper canning procedures, the book I mentioned earlier has great information on them.
IMPORTANT: It is CRUCIAL for your safety that you follow the canning recipes to the letter! DO NOT use your grandmother’s canning recipe or just wing it. If your food is not acidic enough and you water bath can, you run the risk of botulism. Botulism is a very real concern and a fatal disease. Don’t mess around with it!!
My Canner Recommendation
I actually use my pressure canner for my water bath canning as well because I have a flat top stove, and it isn’t typically recommended that you use a canner on that type of stove. This is the canner that I’ve used for the past two canning seasons and really like. It’s user-friendly and I’ve had good results with it.

I know a lot of people aren’t crazy about grape jam, but if you’ve never had homemade, you haven’t had grape jam, you’ve had a pale and pathetic substitute. My only complaint is that I think the jam from this recipe is a bit too sweet. Next time around, I might cut the sugar some and see if that helps.
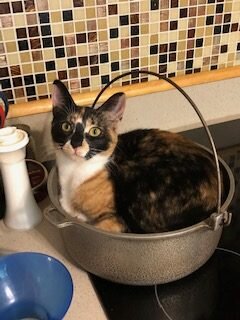
Oh, and if you have cats, you may not want to leave the kitchen while your equipment is still out. I walked away for like 30 seconds and came back to this….although admittedly this was the best picture (and the biggest laugh) of the day.
I hope you enjoyed my post and you’ll give your own homemade jam a try.
If you’re not an email subscriber yet, please head over here and sign up. Not only will you get a weekly newsletter with happenings around the blog, you’ll get instant access to ALL THE FREEBIES in my Subscriber’s Resource Library. No spam, ever, I promise!
You’ll find a few pictures below that can be pinned on Pinterest. Please pin this post for later!
Thanks for reading and have a crazy organic day!