
What Cold Stratification is, Why it’s Needed and How to do it
Have you ever purchased flower seeds and seen the term “cold stratification” on the seed packet? Not sure what this means or what you need to do?
The good news is that it’s an easy process that takes just a few inexpensive items to complete.
What is Seed Dormancy?
This post contains affiliate links. When you make a purchase through one of these links, I receive a small commission. This does not affect your purchase price.
To really understand the need for cold stratification, you need a quick word on seed dormancy.
Dormancy is a process that protects seeds from germinating too late in the fall or too early in the spring in cold climates. The seeds use environmental cues such as temperature to “know” when they should or shouldn’t start to grow.
NOTE: If you only grow vegetables or annual flowers, this isn’t something you have to worry about as they don’t need their dormancy broken, they will just start growing when you plant them in the spring.
There are many types of dormancy, such as chemical and embryo dormancy, but for the sake of this post, we’ll just refer to all types as plain old dormancy.
If you’d like more in-depth information on dormancy and on seeds in general, I’d highly recommend Plant Propagation by the American Horticultural Society. It’s very readable for the average gardener and is filled with useful and interesting information. Just a note that there are plenty of other plant propagation books out there that are cheaper, but this happens to be the one I own and can attest to its readability.
Why Do my Seeds need Cold Stratification?
Once seeds have gone dormant, it’s necessary to break that dormancy so they can grow, and for most seeds, that’s accomplished with cold stratification.
There’s also warm stratification and cold-warm-cold stratification, among others, but again, to keep things simple, we’ll go with just cold stratification as it’s most common.
Now, let’s say you planted your flower seeds outdoors in the fall. Do you need to panic and try to go dig them up to stratify them? Nope! Mother Nature is doing that for you as we speak.

You see, seeds subjected to normal fall, winter and spring temperatures are stratified naturally, and will break dormancy at the correct time. Well, usually….
One of the reasons you may want to artificially stratify your seeds is that if, as we’re having this year, there’s an unusually warm winter, some seeds may get “confused” and break dormancy too early.
So, you may discover some new, young shoots poking up in early March. That wouldn’t be a problem if it stayed warm, but chances are, there will be another cold snap before spring really comes and those tender shoots will go belly up.
How do I Stratify my Seeds?
So, now you know the what and the why, but you need the how.
Don’t worry, stratification is a lot easier than it sounds. Here’s the simple, step-by-step process.
What you Need
- Seeds
- Clean sand or peat moss (method #2 uses paper towels instead)
- Small plastic bags
- Marker to label your bags
- Water
- Refrigerator
How to Stratify your Seeds
ready for stratification
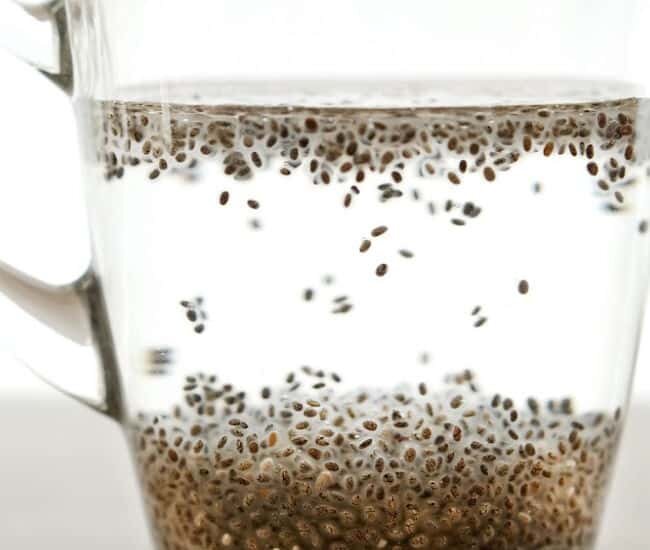
- First, your seeds must be imbibed. All that means is that they need to have soaked up water before starting the stratification process.
- Place your seeds in a small container of water (room temperature is fine) for 12-24 hours. Unless you’re planting your seeds in a mixed group, be sure to keep them separate and keep track of which seeds are in which container. Trust me, this is important!
- For method #1, take a small handful of sand or peat moss and place it in a container.
- Add water slowly until the sand or peat moss just sticks together in a ball when you squeeze it. You don’t want it soaking wet, just wet enough to stick together.
- For method #2, wet a paper towel thoroughly, then wring it out gently.
- Next, take your imbibed seeds and mix them into your sand or peat moss OR spread them in a single layer on your wet paper towel.
- For method #1, take your peat moss/seed or sand/seed mixture and place it in a plastic bag. Label the bag with the seed variety and the date you started stratification. Seal the bag and place it in your refrigerator.
- For method #2, take your damp paper towel and fold it over your seeds, then fold this inside a dry paper towel, and place this bundle into a plastic bag. Label and seal the bag as above and place in the refrigerator.

Your seed packet will list how long your seeds should be stratified. It’s typically between 30 and 60 days, although some trees can take up to 2 years!
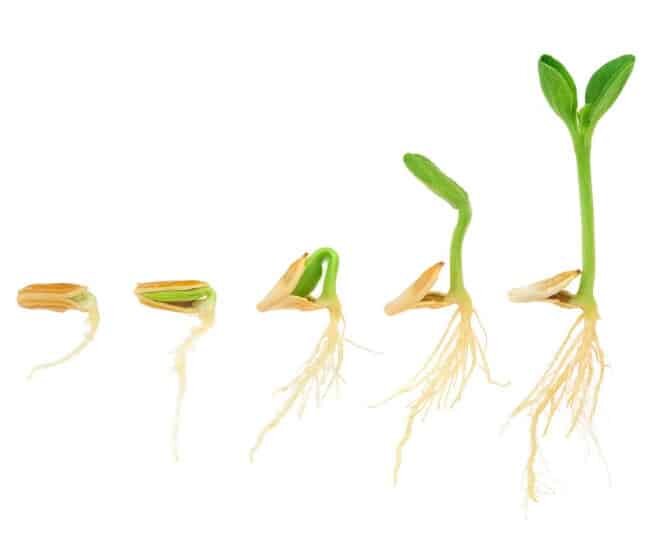
It’s a good idea to check your seeds and turn the bags every week. When you check them, be sure to check thoroughly enough to see if any seeds are sprouting. If seeds have started to sprout (easier to see in the towel than the sand/peat moss), you MUST take them out and plant them immediately.
If the weather is still too cold to plant outside, plant them in pots inside until they can be transplanted outdoors.
Which Plants Need Stratification?
This isn’t an exhaustive list, but will give you an idea of the flowers that need stratification. You’ll notice they’re typically plants that are native to the colder parts of the US. Plants that naturally grow in the warm south are not going to need stratification.
Marshmallow (Althaea officinalis)- This plant is the original source of the Egyptian candy that eventually became our modern-day marshmallow. I’m really looking forward to growing it this spring! The flowers are quite pretty and the roots are edible!
Golden Alexander (Zizia aurea)- Host plant for swallowtail butterflies east of the Rocky Mountains.
Meadow Blazing Star (Liatris ligulistylis)- Monarch butterflies love them!
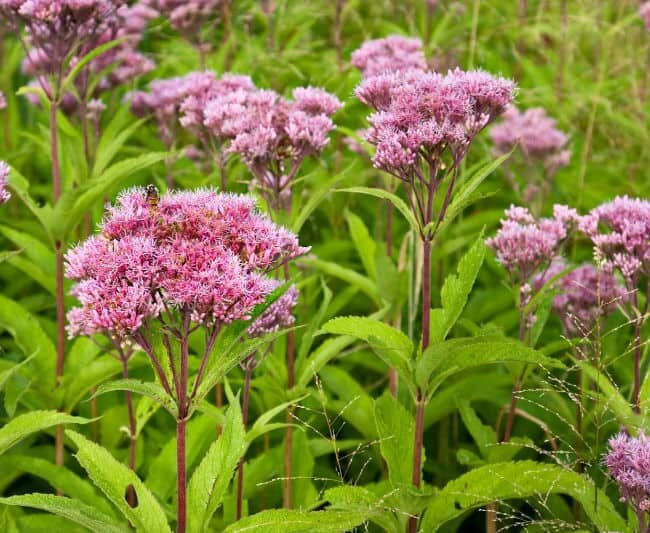
Joe Pye Weed (Eutrochium maculatum) – Butterflies love it! Sweet Joe Pye Weed (E. purpureum) and Hollow Joe Pye Weed (E. fistulosum) also need stratification.
Boneset (Eupatorium perfoliatum)- This is a white Joe Pye Weed variety. Attracts butterflies.
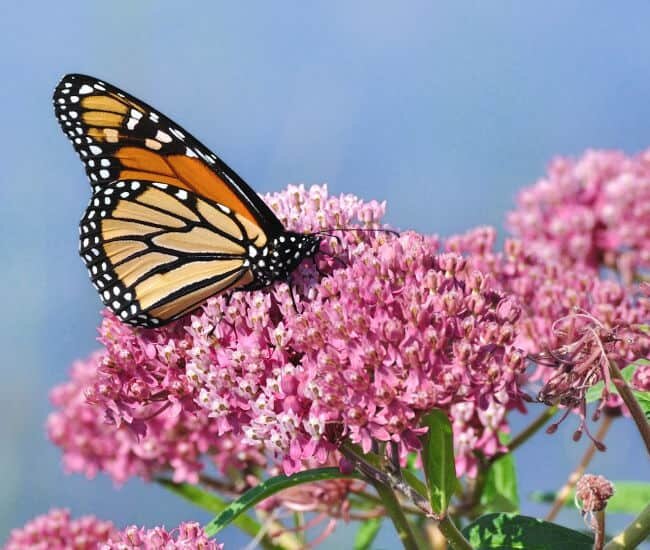
Common Milkweed (Asclepias syriaca)- Monarch host plant. Also applies to any milkweed variety that grows in areas with cold winters (including swamp, showy and prairie).
New England Aster (Symphyotrichum novae-angliae)- Stratification also needed for Hairy Golden Aster, among other varieties.
New York Ironweed (Vernonia noveboracensis)- Common variety must also be stratified.
Showy Goldenrod (Solidago speciosa)- Stratification also needed for varieties such as Missouri and Blue-stemmed Goldenrod. All goldenrod varieties attract butterflies.
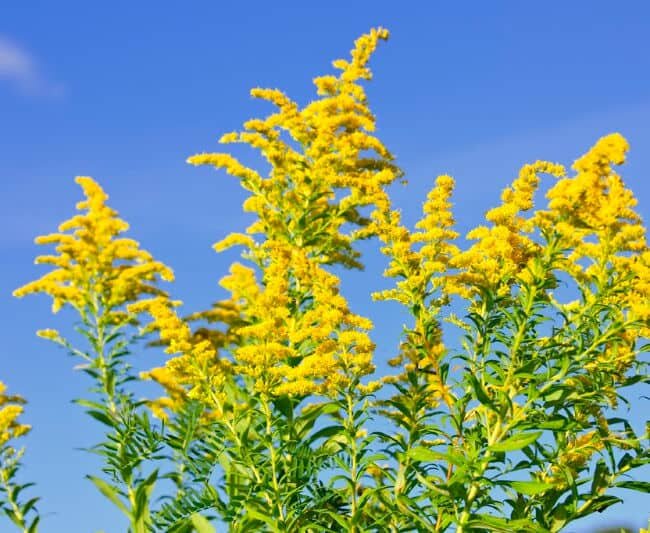
but it does attract butterflies and bees in droves
I hope you’ve enjoyed today’s post and that it’s been useful for you. Please be sure to pin one of the images below to your Gardening or Seed Starting boards for later reference. I’d also appreciate shares on Facebook and Twitter as well.
This post has been shared on the Simple Homestead Blog Hop. Please come over and check out these awesome bloggers.
Posts Related to Seed Stratification
- 5 Seed Starting Essentials
- 8 Seed Starting Tips
- Raising Monarch Butterflies
- Raising Swallowtail Butterflies
- Planning your Butterfly Garden
Thanks for reading, smile and have a crazy organic day!


8 comments
Great info. I guess we just never used the proper term for it, because I had no idea what the title of your post meant. LOL
🙂
Hahah! Now you know.
Thanks! Very informative and timely. I’m going to try it on my milkweed seeds.
You’re welcome! I hope it’s helpful!
Very helpful! I have ended up with seeds that need stratified in the past and had no idea how to do this!
It’s so easy. You’ll still get germination without it, but it definitely improves germination rates.
Very interesting. In all my years of gardening I have never heard of this.. We do keep our seeds refrigerated until its time to plant but I may have to try this.
Stratification is definitely different than just refrigerating them. The combination of moisture and cold is what increases germination.